
Laser Engraving Website Design: Building a WooCommerce Store for Modern Engrave
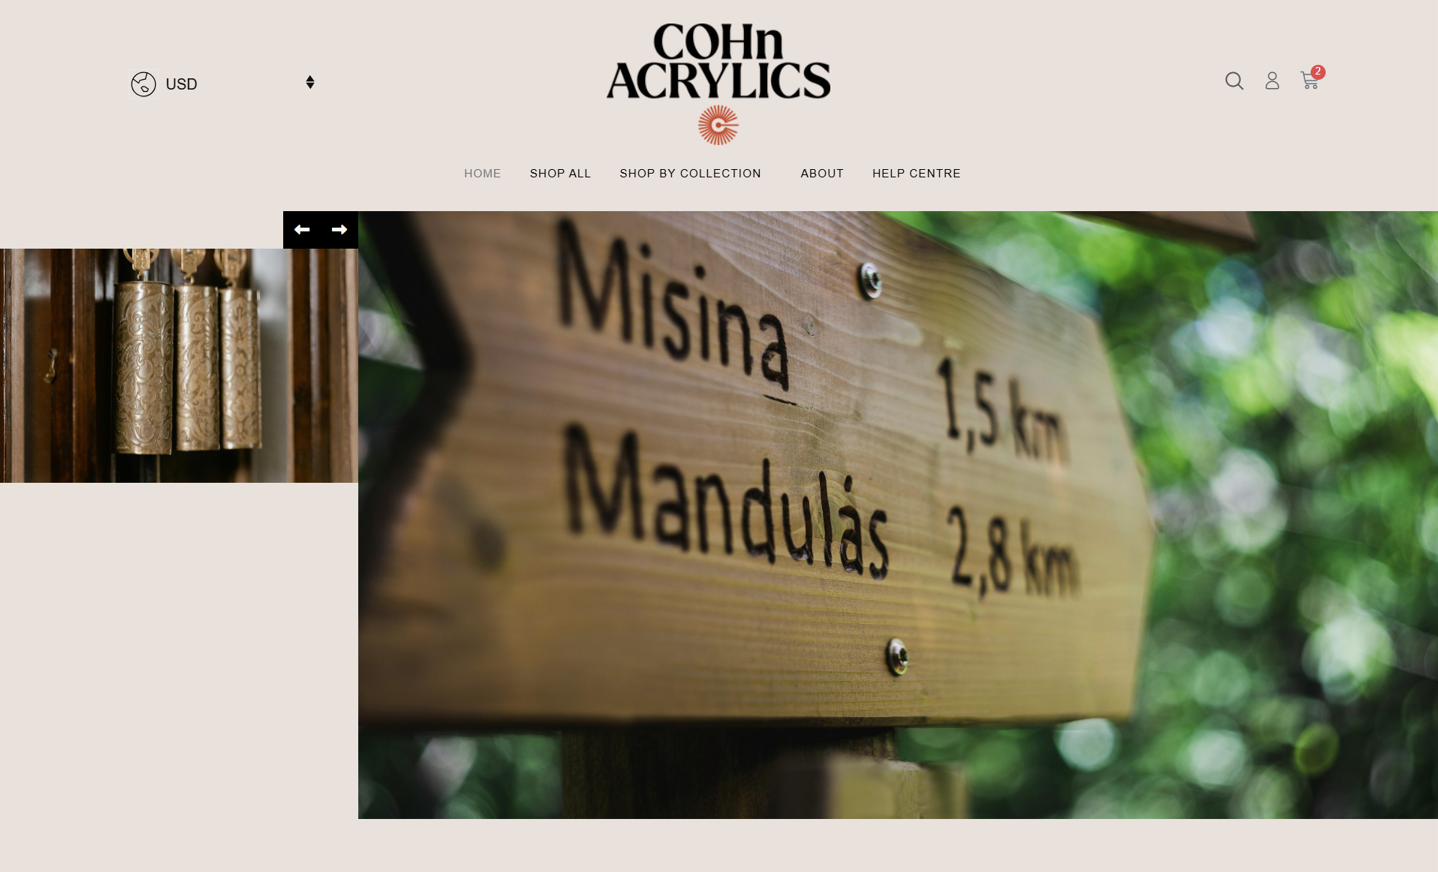
Most laser engraving businesses start with a "coming soon" page and a Facebook account full of product photos. That was exactly the situation Modern Engrave was in. The owner had a domain, a WordPress theme, and a folder of images — but no working store. This case study walks through the full laser engraving website design project I delivered on Fiverr: how I replicated a reference site, built a proper WooCommerce shop, and organised everything into clean product categories.
This post is for anyone who runs a small product business and wants an honest look at how a real WooCommerce build goes — the planning, the revisions, and the small misunderstandings that happen along the way. It's also useful if you're a fellow developer curious about how I structure client work at CodeSyte. I'll keep it practical and share the exact decisions I made.
The Client & The Problem
The client, Modern Engrave, runs a laser engraving business. They make products like tumblers, coasters, drinkware, and multilayer wood pieces cut with CNC laser technology. When they reached out, their website was little more than a placeholder.
In their own words, the state of the site was simple: "Right now, it's just a coming soon page." They had a domain, a WordPress install, a theme, and all their product images already uploaded to the media library. What they didn't have was written content — no page copy, no category descriptions, nothing final.
They pointed me to a reference site they admired and said they wanted something similar. The core problem was clear. They needed a working, mapped-out online store where products sat in the right categories, even though the text would come later. As they put it: "Basically I need the website working and mapped out."
This is a common starting point. A business owner knows what they want the site to feel like, but the content isn't ready. My job was to build a solid structure they could grow into. If you're in a similar spot, my WordPress development services are built exactly for this kind of "get me live and organised" work.
What I Proposed
I proposed a two-phase approach, and I was honest about it from the start. Phase one was to replicate the reference site's structure and layout closely. Phase two was to swap in the client's own laser engraving images and reorganise everything into their real product categories.
I set clear expectations early. When you replicate a design, small differences appear — minor animation changes, for example. I told the client this directly so there were no surprises later. Setting honest expectations up front is something I care about, and it's a big reason clients trust my Elementor and Divi design work.
The scope covered seven to ten pages, a full WooCommerce shop, and product categories including coasters, drinkware, and multilayer wood products. We agreed on a budget of around $400 with a ten-day delivery window and five revisions. The client placed the order and shared their WordPress credentials so I could begin.
The Build Process
This was a case study in structure-first development. Because the client had no final content, I couldn't wait on copy. I focused on building a store that worked, then let the client fill in text at their own pace. Here's how it broke down.
Staging First, Then Migrating
I started the build on my own server rather than directly on the live domain. This kept the client's site clean while I worked. Once the base was solid, I migrated everything over to modernengrave.com. This staging-then-migrate approach avoids breaking a live site mid-build, and it's how I handle every serious WooCommerce store setup.
Replicating the Layout
The first milestone was a close replica of the reference design using Elementor and Divi. When the client reviewed it, the feedback was reassuring: "It's exactly like the website I sent you." That confirmed we were aligned before I started customising, which saved time down the road.
Building the Product Categories
Next, I replaced the placeholder images with the client's laser engraving photos and built out real categories: coaster, drinkware, and multilayer wood products. Each product was mapped to the right section so the shop actually made sense to a visitor. Getting category structure right early is one of the most valuable parts of any laser engraving website design project.
The Revision Rounds
The bulk of the work came in the revisions, and this is where honesty matters. The client sent through a steady stream of small fixes. I removed a "shop by colour" button and a "3M tape" element inherited from the reference site. I stripped out an orange revolving banner and several pop-ups on the home page. I fixed the search and "my account" buttons, made the logo link to the home page, and adjusted the mobile menu to sit on the side like the original.
The "Empty Cart" Misunderstanding
One moment is worth sharing because it's so common. The client reported the cart was "empty" and thought something was broken. Nothing was broken. The cart simply showed nothing because no product had been added yet. I explained it plainly, they tested it, and it worked. Not every reported bug is a bug — sometimes it's just a UX gap that needs a clear explanation.
The Paid Add-On: Editable Category Pages
Weeks after delivery, the client came back with a new request. They wanted separate, editable pages for each category so they could update descriptions themselves over time. I scoped this as a small $50 add-on covering five categories. This is the kind of follow-up work that turns a one-time buyer into a returning client, and it's why I always offer ongoing custom WordPress support.
The Result
Modern Engrave went from a bare coming-soon page to a fully working WooCommerce store with organised product categories, a clean mobile layout, and pages the owner could edit on their own. The site launched on modernengrave.com with the client's real branding and products in place.
The client left a five-star review that reflected the whole experience. In their words: "Exceptional web development and design skills transformed a vision into a stunning online presence. Meticulous attention to detail resulted in a polished and user-friendly website." That kind of feedback comes from communication as much as code.
Beyond the initial build, the relationship kept going. The client returned for the category-pages add-on, and I later provided guidance on editing shop and category text, fixing a messed-up header, and resizing elements across mobile and tablet. A working site plus reliable support is a combination that keeps clients coming back. If you want that same reliability, take a look at my full range of WordPress services.
Key Takeaway
The biggest lesson here is that you don't need finished content to launch a working store. Modern Engrave had images but no copy, and we still shipped a functional, well-structured site. Building the skeleton first — categories, layout, cart, and navigation — let the owner add text at their own pace without holding up the launch.
The second takeaway is about expectations. I told the client up front that a replicated design would have minor differences, and I explained the "empty cart" the moment it came up. Clear, honest communication prevented small issues from becoming complaints. Most revision requests are quick when you handle them calmly and one at a time.
If you run a product-based business and you're stuck on a coming-soon page, the path forward is simpler than it looks. Start with structure, get the store working, and refine the content later. That's the exact process I follow on every build.
Whether you sell engraved tumblers, handmade goods, or anything else online, a properly structured WooCommerce store is the foundation your business grows on. If you'd like a site built the same careful way — staging first, honest timelines, and support after launch — get in touch with CodeSyte and let's map out your store together.